
A nursing binder is a must-have item in surviving nursing school. With all the extra papers, handouts, and notes you need to keep, it’s essential to stay organized. Just think of it as a way to reduce your stress at school.
So, how can you make an efficient nursing binder for your notes?
Here is a step-by-step guide to making one.
Step 1: Choose the Right Size of Binder
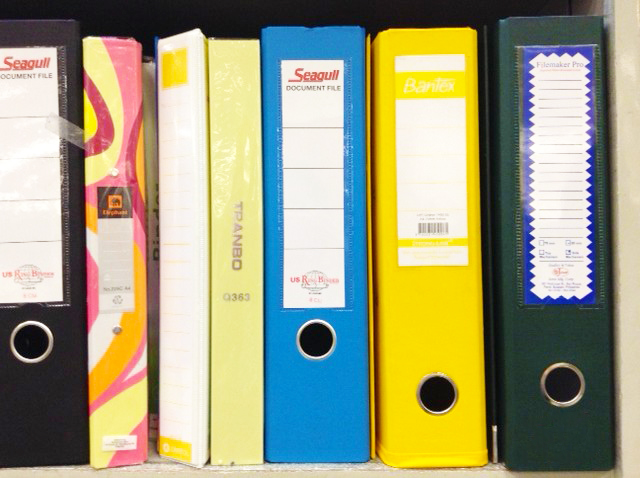
Choosing between 1-2 inch or 3-4 inch binders is a tough decision. In selecting one for your different classes, consider your own convenience in carrying the binder around. Would you like to carry a big binder for all of your classes at school? Or would you prefer to use a separate binder for each class?
Most of the time, students find it convenient to use 1-2 inch binders so they can easily carry their notes around. If that’s the case, you can use two 1-2 inch binders for school; one for your morning classes and another for afternoon classes.
A logical option is to use one binder for all of your classes. To make this work, make sure to carry only the notes and materials you’ll need. For all other papers that you “might” still need but don’t need every day, you can store them in separate binders at home.
Step 2: Choose a Binder with Customizable Front and Back Covers
If you want to take your organizing skills up a notch, choose a binder with customizable front and back covers. By having customizable covers, you can slip in a copy of your class schedule and class syllabus on the front and back sections of your binder. This will keep you constantly reminded of your schedule and requirements at school.
Some binders also come with customizable spine sleeves which are great for organizing your growing collection of binders at home. Just create your own spine title and slip it down the spine sleeve to label the binder properly.
You can also use those sections to add a personal touch of creativeness. You can create your own cover page so you can make your binder unique. Inspirational quotes and pictures or a vision board can keep you motivated in class.
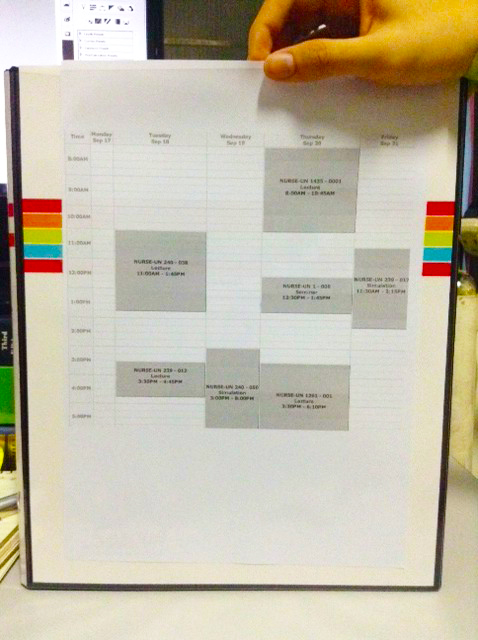
Step 3: Divide the Binder into Sections
This is where your organizational skills will kick in.
Now, before you actually divide your binder into sections, determine first how many sections you’ll need.
Ideally, you need 3 separate sections aside from the sections for your classes. The first one is for your weekly schedule, the second one is for reminders and assignments and the third one is for loose leaf papers.
Then, you can add more sections depending on the number of your classes. If you have five classes for this semester, add five more sections.
Use a separating color-coded folder to mark and label the sections you made.
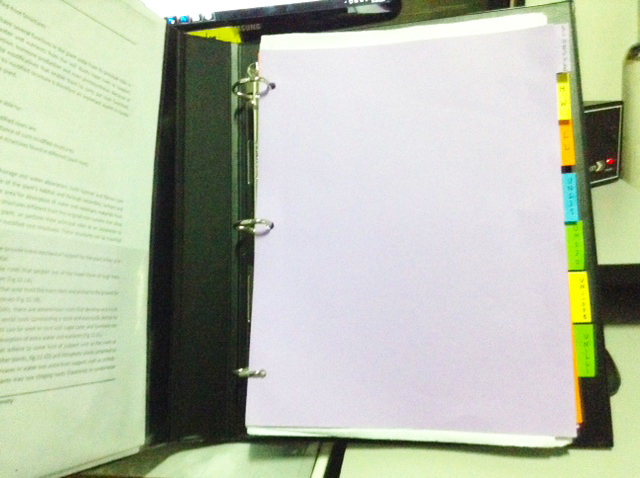
Step 4: Customize Your Folders
Most binders include folders to keep the sections tabbed. You can try customizing these folders to maximize the space in your binder.
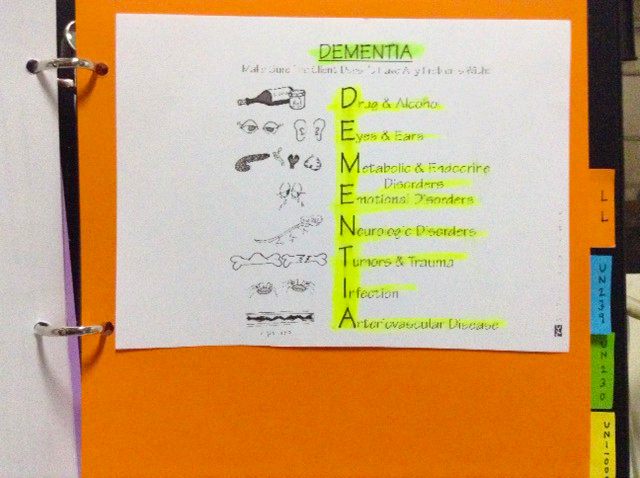
Print or attach related mnemonics and memory aids in each folder so you can easily memorize the important things. The folders included in a binder are usually color-coded but if you want to get more creative, there are plenty of patterns available online. You can print your own customized folder.
Step 5: Keep Track of your Notes
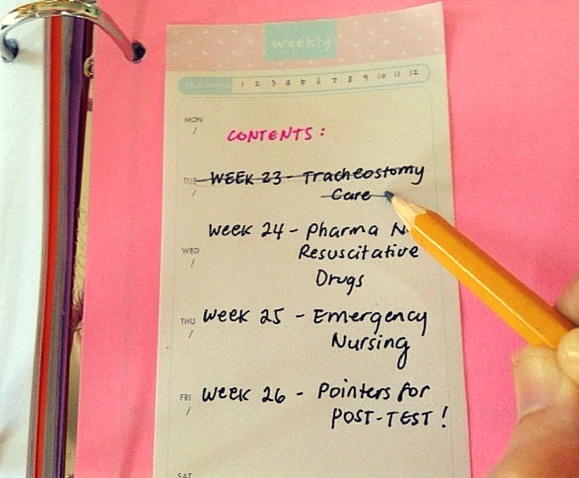
A binder always gets easily filled with notes that you might lose track of everything by the end of the semester. For this reason, it will be very helpful to make a mini list of contents in the front of each folder. This trick will also help you easily unload inactive notes from the binder.
Step 6: Use a Binder Pouch
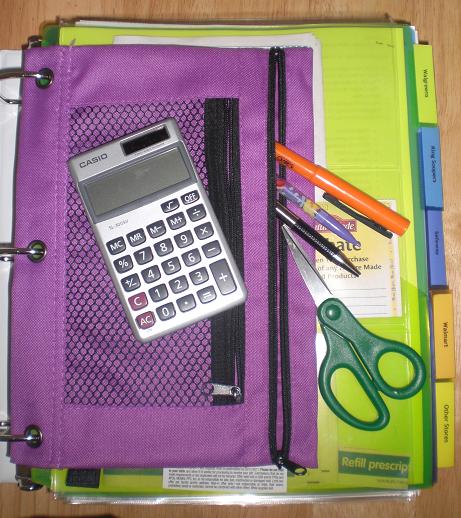
A binder pouch is usually transparent and made of durable plastic. You can use it to keep your pens, highlighters, sticky notes, and a small calculator.
Final Tip!
A well-organized nursing binder will help you go through difficult lectures. Always maximize your learning potential with your notes. Try to make your own color-coding system, like assigning specific colors per class.
Some students also recommend using different colors of pens. For example, you can use a blue pen for writing down your professor’s notes and black pen for writing down your own ideas. Don’t be afraid to explore and unleash your creativity!


